RSS Feed

Category Archives: Recipes

Super Spinach Breakfast Wrap

Posted on

Watch the video for step-by-step instructions to make this deliciously filling breakfast or brunch (or even “linner” or “dunch”):

This wrap is a great way to get a mix of veggies in your breakfast and the flavours really come together with the taste of Spinach Dip (that’s why it’s super)!

Super Spinach Breakfast Wrap

Ingredients

1 TBS Spinach Dip Mix

3 eggs

1 TBS plain yogurt

1 small red onion

1 small bell pepper

2 cups fresh spinach (or however much you can fit in the pan)

cooked sausage or bacon (optional)

1/4 cup feta cheese

2 whole grain tortillas

1 small roma tomato (optional)

1 small persian cucumber (optional)

Sprinkle Garlicky Dill Topper

Method

  1. Mix Spinach Dip Mix, plain yogurt (both should be 1 Tablespoon, the TSP’s in the video are an error) and eggs in a small bowl and let sit to rehydrate the spices
  2. Chop and sauté onion and bell pepper over medium until translucent
  3. Add cooked sausage or bacon, if using, and fill pan with spinach leaves
  4. Sauté gently until spinach is wilted
  5. Add egg mixture and dot with chunks of feta cheese, if using
  6. Warm tortillas
  7. Divide egg mixture and place in the centre of the tortillas
  8. Top with diced tomato and cucumber, if using, and sprinkle Garlicky Dill Topper
  9. Wrap and enjoy

Kitchen Hack: Use a ceramic knife to prevent onion tears

I love the flavour that the Spinach Dip Mix adds, because though I enjoy full-on Spinach Dip in the classic sourdough bread bowl at get-togethers, I’m always finding ways to use it for everyday cooking. Check out more great recipes:

Spanakopita (mini spinach pies)

Creamy Spinach Pasta Sauce

Cheesy Kale Hot Dip

Spinach Dip

Hot Spinach Dip

Cheesy Artichoke Squares

SpinachDipMixNutritionIngredients

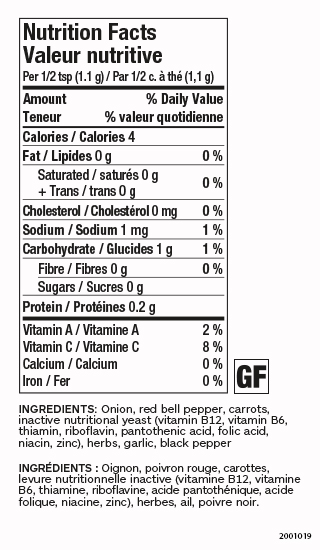
I also appreciate that there is no added salt (hence low sodium) and the inclusion of nutritional yeast for all those great B vitamins! You could also add some Kalamata Olives for a bit more salt. What are your favourite flavours to pair with spinach?

Advertisement

Brie Stuffed Veggie Burger

Posted on

Brie Stuffed Veggie Burger

When I sat down to enjoy this flavour packed veggie burger stuffed with brie cheese, I did not know just how many people would share in the excitement of my creation! I entered this photo of my homemade burger, dressed with avocado sauce and pickled onions, in a burger contest and promptly forgot all about it, until my Brie Stuffed Veggie Burger won the contest.

Epic Burger Contest

I was honoured to have my beautiful burger recognized and, of course, was thrilled to win the prize (who doesn’t love winning?). I did re-prize it as I love to share good fortune (even more than winning) and it was too good to keep to myself!

Brie Stuffed Veggie Burgers

Ingredients

MAKES: 4 SERVINGS

  • 1 pkg Veggie Burger Mix (Pkg of 2)
  • 1/2 C (125 ml) hot water
  • 3 Tbsp (45 ml) lemon juice
  • 1 C (250 ml) cooked quinoa
  • 1 C (250 ml) grated zucchini (or carrot)
  • 2 Tbsp (30 ml) oil
  • Brie Cheese (or other soft cheese)

Method

  1. In a bowl, combine first 5 ingredients. Let stand 5 minutes
  2. Use Burger Press to form 4 patties with brie cheese inside
  3. Preheat large Fry Pan or grill pan over medium heat. Add oil. Cook until golden brown, about 4 to 5 minutes per side.

Recipe Tip: Make burgers; refrigerate or freeze. Reheat on barbecue for smoky flavour.

Avocado Burger Sauce

Ingredients

Method

  1. In a medium mixing bowl, using Piano Wire Whisk, whisk together all ingredients.
  2. Store in a sealed container in fridge for up to 1 week.

Quickled Red Onions

Ingredients

MAKES: 1 C (250 ML)

Method

  1. In a saucepan, combine water, vinegar, sugar, pickling mix, and salt.
  2. Boil, then simmer for 5 minutes.
  3. Pour over sliced onion. Chill before serving.

Hack: Add pickled onion juice to Caesars and Bloody Marys or substitute it for the vinegar in your salad dressings.

Assemble with all your favourite burger fixings and enjoy! I love onions on my burgers: raw, pickled, caramelized or any combination. What is the one topping that makes your burger the best it can be?

Gingerbread Spice Cookies

Posted on

Sleigh Cookie

Forgiveness is important, especially in baking. I love this cookie dough because it lets me get away  with a LOT: flavouring, tearing, re-rolling, flour substitutions, over baking. I’ve never made a bad batch and that’s why I’ll keep using this recipe until there are Food Replicators in every kitchen (then I’ll program it in).

img_4922

The most recent variation was for a Kids Cooking Class featuring Festive Treats, so I amped up the cheer with Epicure Gingerbread Spices. You can keep it plain vanilla (as long as you use the good stuff) or add your favourite spice blend.

img_4919

Gingerbread Brown Sugar Thins

Ingredients

2 1/4 Cups (270g) all purpose flour

1/4 tsp salt

1 Cup (226 g) unsalted butter, softened

1 cup (213 g) packed dark brown sugar

1 tsp vanilla extract

1 TBS Epicure Gingerbread Spices

Method

Preheat oven to 300F and line 2 baking sheets with parchment or reusable non-stick baking mats.

Mix flour, salt and spices together

Beat butter, brown sugar and vanilla until light in colour and texture (about 3 minutes in a stand mixer with paddle attachment on medium speed). Then add flour mixture gradually to make a smooth dough. Press dough into a smooth flat disc.

Break the dough into 4 roughly equal pieces and roll each one out on a lightly floured surface until 1/8 inch thick.

Dip cookie cutters into flour and cut out shapes. Arrange cookies at least 1 inch apart on the sheets. Scraps can be gathered, rested for 5 minutes and re-rolled.

Bake until golden brown, about 15 minutes (lift one up and check that it’s firm). Cool on sheets for 3 minutes then move to cooling racks until room temperature.

Baked cookies can be stored in an airtight container for up to 5 days unrefrigerated.

The dough can also be kept in the fridge, tightly wrapped in plastic wrap for up to 5 days. Let it warm up before rolling out.

Decorate if you desire or keep them plain! Do you have a favourite cookie cutter shape? I love heart-shaped cookies any time of year.


Luscious Lime Lassi

Posted on

IMG_4418.jpg
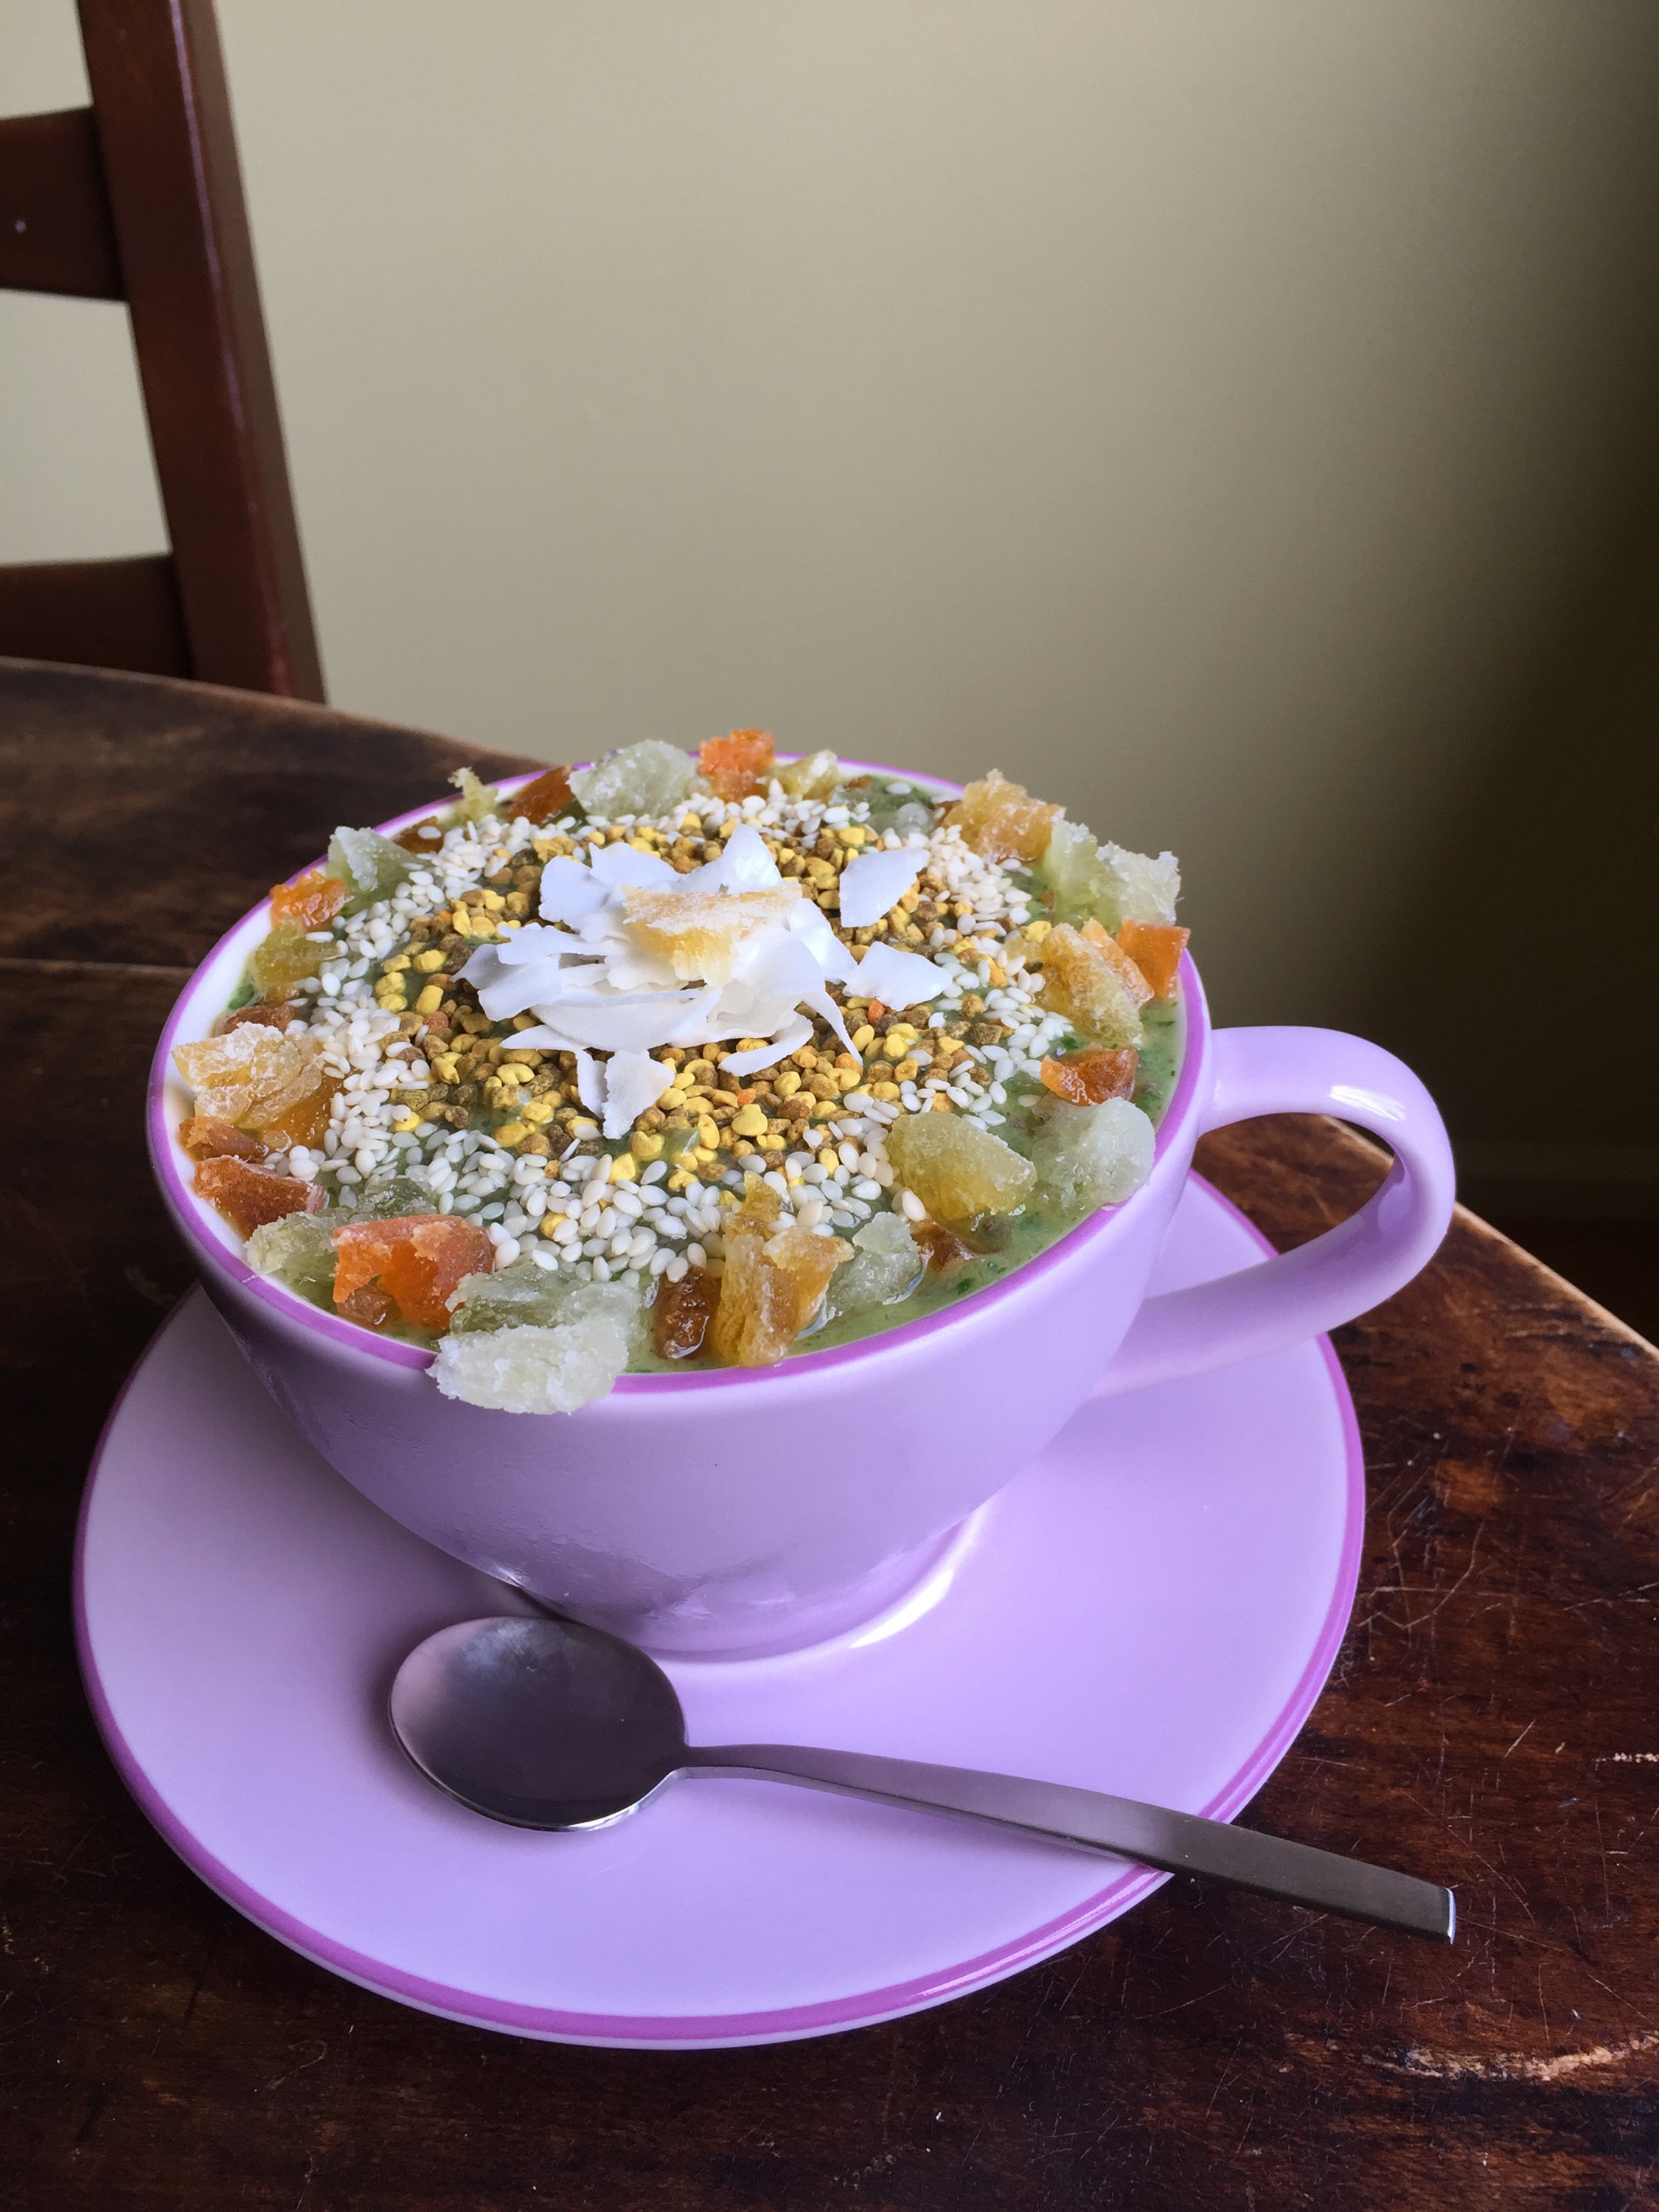
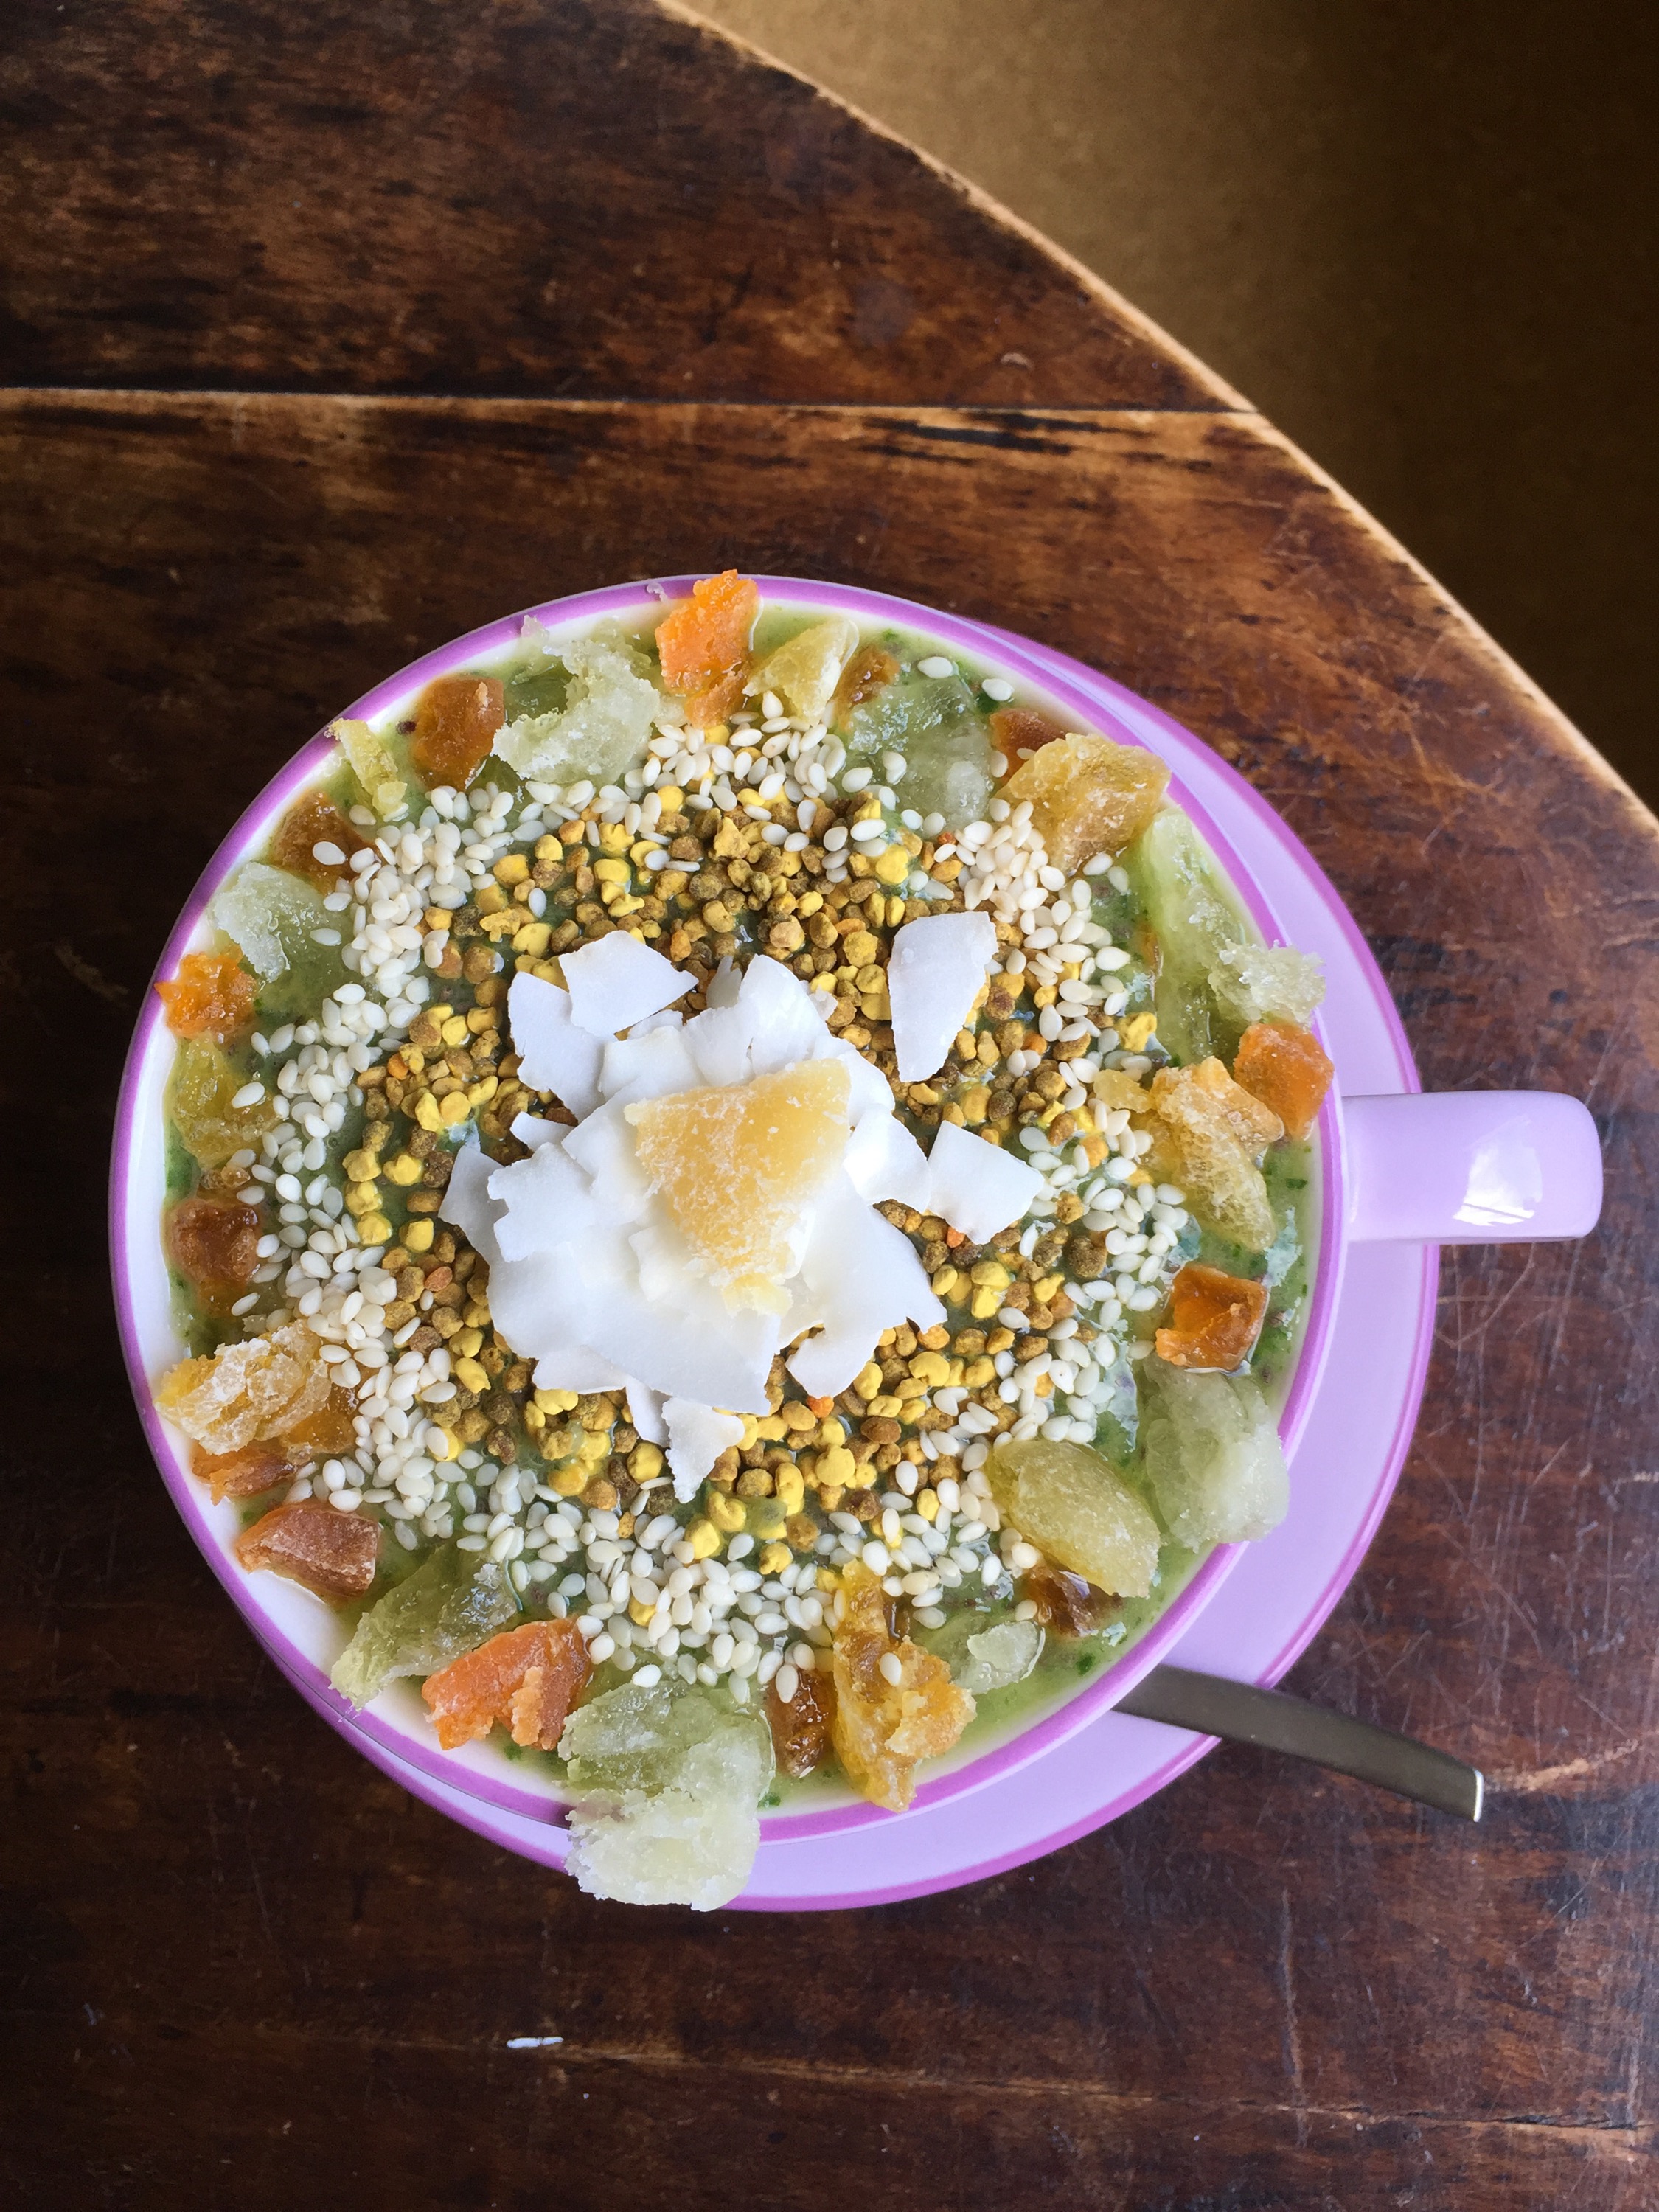
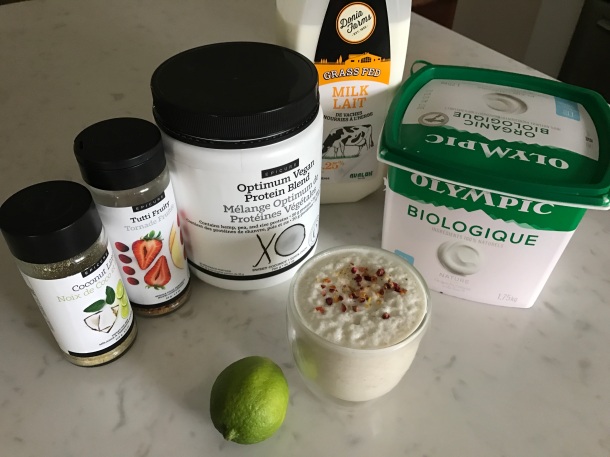
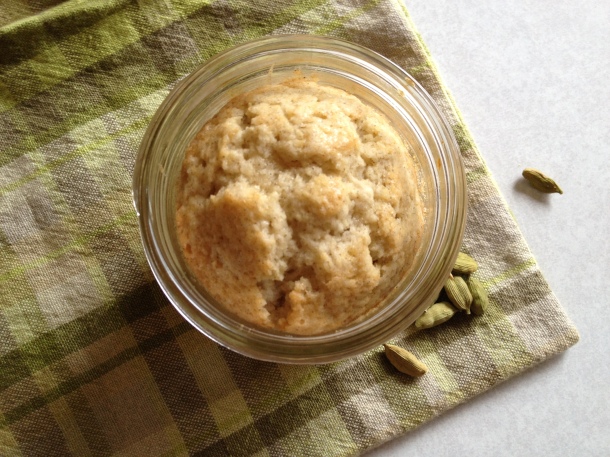
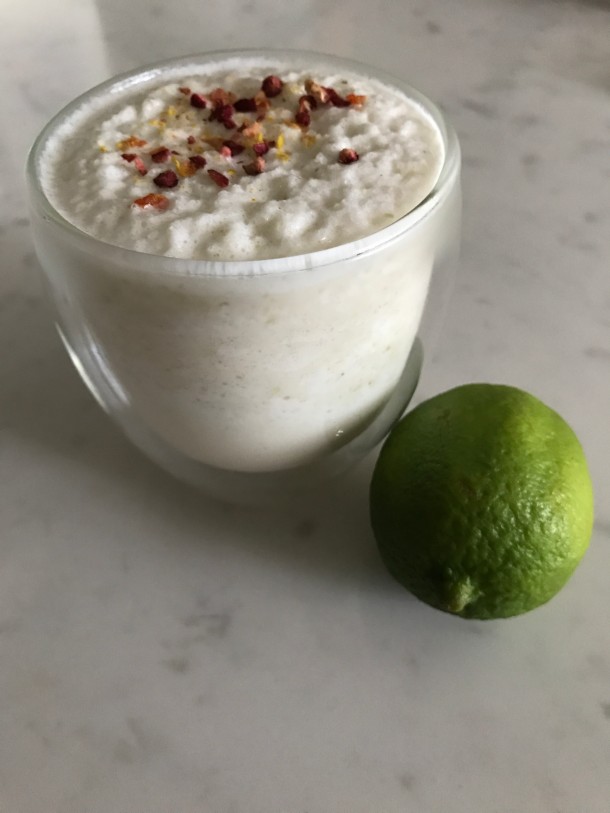
Sometimes you just need a pick-me-up! A little something to refresh, recharge and rejuvenate your body, mind and spirit.

I was working up the energy to go to the gym, when this concoction occurred to me, I was picturing what I had on hand to work with and it all started with the bowl of limes on my counter. I knew I have Greek yogurt in the fridge and once I put those two pieces together, the rest of the puzzle just fell in the blender.IMG_4419.jpg

A tangy citrusy boost in frosty liquid form: Luscious Lime Lassi! A lassi is a traditional drink from India that always has yogurt as a base, but can branch out towards savoury or sweet and salty.

I threw together the ingredients that I had on hand to make this dreamy drink and made it to the gym, with a skip in my step that was definitely not there before.

IMG_4417.jpg

Lime Lassi

Ingredients

Juice 1/2 lime

1/2 cup Greek yogurt

1/2 cup milk

1 cup ice

1 TBS Coconut Lime Sweet Dip Mix

1/2 TBS Sweet Coconut Vegan Protein Blend

Optional Garnish: Tutti Fruity Whole Food Sprinkles

Method

Blend all ingredients until frothy

Enjoy!

Do you have a go-to warm weather drink to cool you down and charge you up?


Pineapple Upside-Down Cake Conundrum

Posted on

IMG_6553
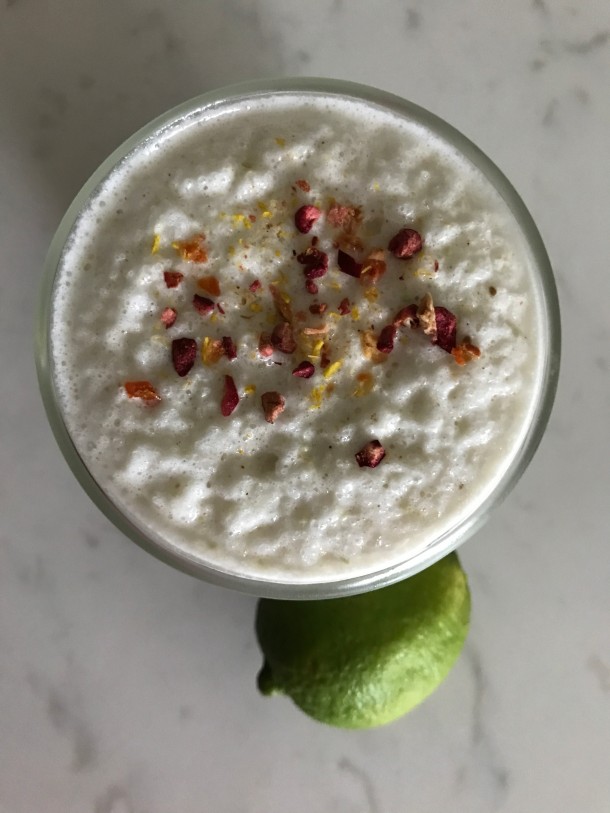
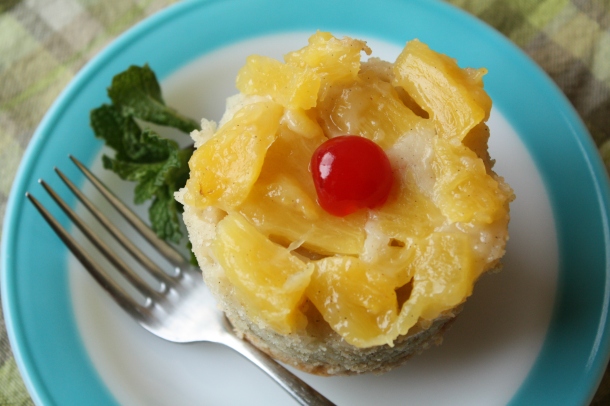
Pineapple Upside-Down Cake can be perplexing: How do you balance the flavours of fruit and cake? What’s the best way to invert the finished cake? When should you stop “testing” it to make sure every bite is equally delicious?

While these questions may not have plagued us for centuries, they have at least crossed MY mind. Fortunately, I found answers. The solution was in creating single servings of the topsy-turvy cake in mason jars.

IMG_0302

The individual serving size makes it easy to prepare, portion and present these sumptuous servings of sweet pineapple and almost savoury cake. The flavour of the cake offsets the pineapple with a hint of cardamom that gives a subtle tropical flavour.

IMG_0300

Pineapple Upside-Down Cake In-A-Jar

Topping Ingredients:

4 TBS unsalted butter

3/4 cup light brown sugar

1 diced whole pineapple (or substitute canned tidbits)

Topping Method:

  1. Grease the bottom and sides of six 250ml wide mouth mason jars with butter. Place on a lined baking sheet
  2. Melt butter in a medium saucepan on medium heat
  3. Add brown sugar, stir occasionally until the mixture is pale and foamy, about 3 to 4 minutes
  4. Distribute evenly into the mason jars and arrange pineapple in a single layer, but tightly packed together

Cake Ingredients:

1 1/2 cups unbleached all-purpose flour (organic, if possible)

3 TBS cornmeal

1/2 tsp salt

8 TBS butter, softened – but still cool

1 cup granulated sugar, plus 2 TBS (for egg whites)

4 large eggs, separated – at room temperature

2 tsp vanilla

2/3 cup milk

Cake Method:

  1. Pre-heat oven to 350
  2. Whisk dry ingredients together
  3. Cream butter in a mixer at medium speed
  4. Add sugar gradually and continue beating until light and fluffy (about 2 minutes)
  5. Beat in yolks and vanilla
  6. Reduce to low speed and add dry ingredients and milk, alternating between the two (begin and end with dry ingredients)
  7. Beat egg whites at low speed until frothy, then increase to med-high and beat to soft peaks
  8. Gradually add the remaining 2 TBS of sugar, continue to beat to stiff peaks
  9. Fold one quarter of the beaten egg whites into the batter
  10. Then fold in the remaining egg whites
  11. Distribute the batter evenly to mason jars
  12. Bake until the top of the cakes is golden and an inserted toothpick comes out clean (about 20 minutes)
  13. Let the cakes rest for 2 minutes then run a knife around the edge to loosen them, then individually invert the cake on plates
  14. Garnish with maraschino cherries and mint sprigs
  15. Serve and enjoy

IMG_6537
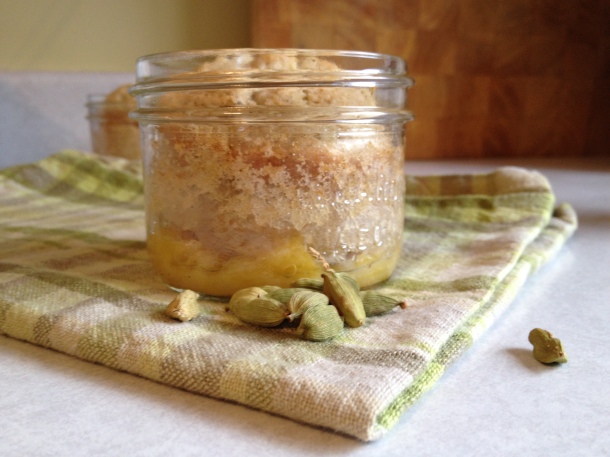
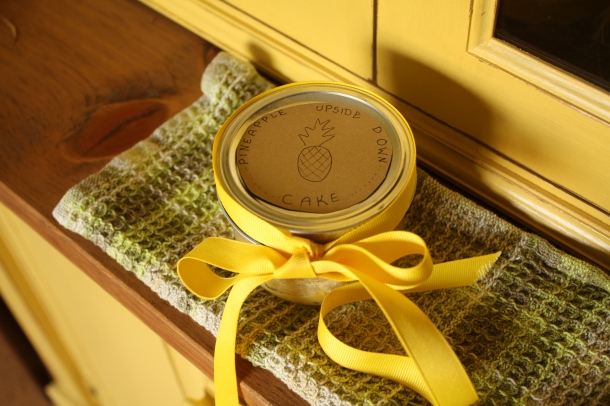
The mason jars also make it a snap to save or share the individual cakes. Who do you know that loves cake in a jar?

Brownie Brouhaha

Posted on

IMG_2581
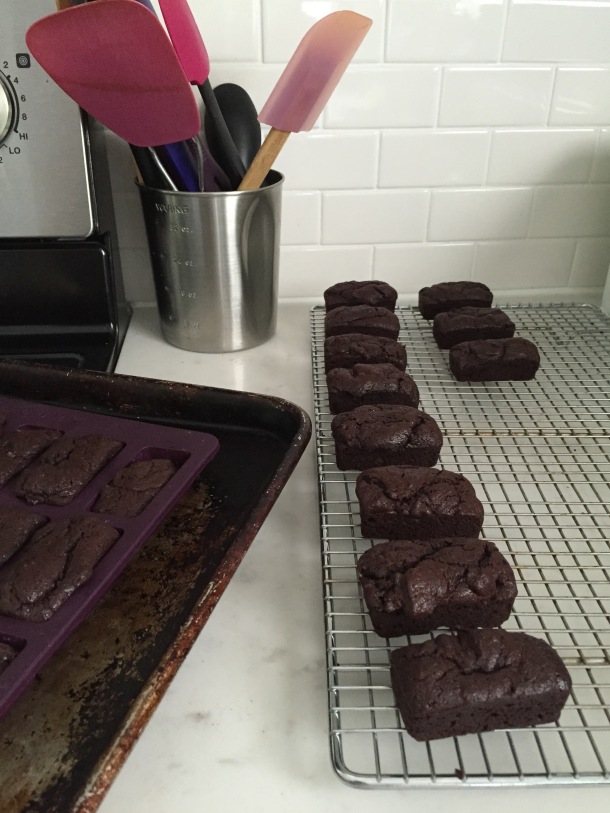
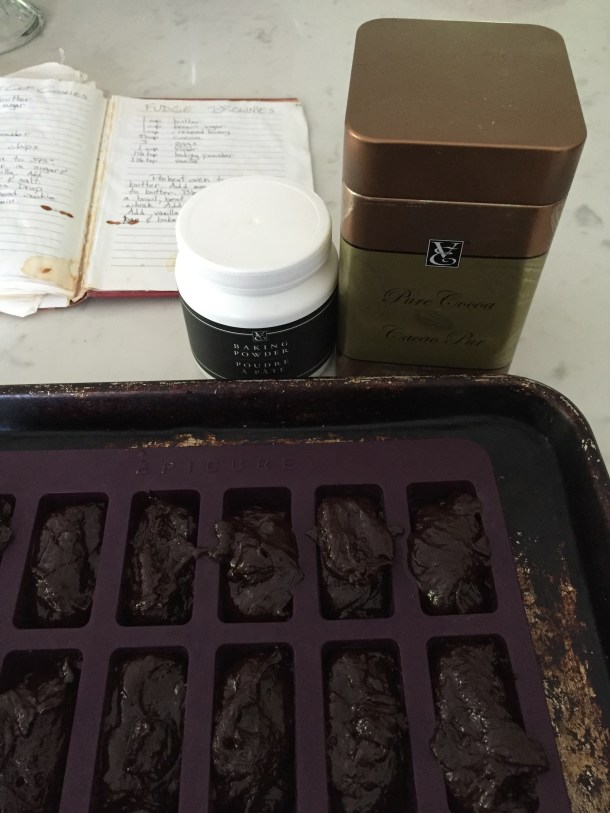
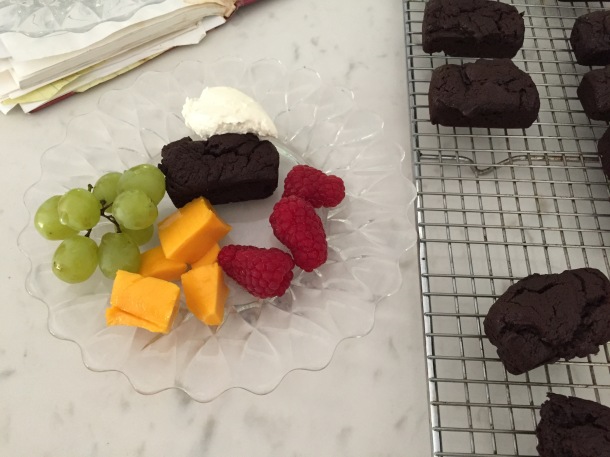
Brownies can be controversial, at least when it comes to my friends and family. Some factions say there needs to be frosting, others are in the cakey camp, while a few are stuck in the fudgey side. There is often heated debate about how Butterscotch Brownies (blondies) and Black Bean Brownies are not acceptable options at all. But, when I’m the one donning the apron I say nay to frosting and go for my tried and true One Pot Brownie recipe (please note: no pot is IN the brownies, they are mixed IN a pot).

IMG_2579

I have been using the same recipe since I started baking when I was eight (out of desperation as my mother wouldn’t bake or buy sweets as often as I wanted them). It has never failed me, though I have failed it on occasion. A couple of times, I MAY have over-baked the brownies until they were dried out. My problem solving brain and thrifty heart turned this loss into a win by making ice cream sandwiches with them!

IMG_2576

Kitchenette Brownies

Ingredients:

1 cup butter

1 cup brown sugar

1 cup creamed honey

2/3 cup cocoa powder

3 eggs

1 cup all purpose flour

1 1/2 teaspoon Epicure Baking Powder

1 1/2 teaspoon vanilla extract

Kosher Salt to taste

Method:

  1. Preheat oven to 350
  2. Melt butter in a saucepan on the stove
  3. Mix sugar, honey and cocoa powder into melted butter
  4. Add eggs and and mix with a whisk
  5. Add flour, baking powder and salt and gently combine
  6. Stir in vanilla extract
  7. Pour into a greased 8-9″ pan or the Epicure Perfect Petites for 30 lovely little loaves
  8. Bake for 25-30 minutes (until a toothpick comes out clean or just a bit crumby)

IMG_2583

Serve with fresh fruit (I had grapes, mango and raspberries) and a dollop of whipped cream (try not to over whip it like I did).

Which side of the brownie battle do you take or will you just take any brownie that’s available?

Totally Tropical Smoothie Bowl with a Capitol Tea

Posted on

While I frequently enjoy smoothies, sometimes I want something more than just sucking back my fruit and veg through a straw… Enter the Smoothie Bowl!
Dish your favourite smoothie blend into a bowl (or in this case, an oversize teacup) then add fresh and/or dried fruit, nuts, seeds, bee pollen, granola or whatever grabs your fancy to add some taste and texture. Bonus points are awarded for creating an eye pleasing arrangement!  Lately, I’ve been brewing up extra tea in the morning, cooling it in the fridge, and then using it for smoothies. It’s a great liquid because you get a touch of caffeine and antioxidants, plus it doesn’t add any sugar! One of my favourites is Citron Sencha Green Tea from Epicure, which is based just outside Victoria, the Capitol of our fair province.

Recipe for Totally Tropical Smoothie Bowl with a Capitol Tea

Makes 1 healthy serving

Smoothie Ingredients

1 Tablespoon Chia seeds

1 cup cold Citron Sencha Green Tea (add more as needed for blending)

1 banana, in pieces

1 cup frozen baby spinach

1 cup frozen tropical fruit (pineapple, mango, kiwi, etc)

Topping Ingredients

Dried Tropical Fruit (pineapple, mango, papaya, etc)

Dried Coconut

Sesame Seeds

Bee Pollen

Method

  1. Soak chia seeds in tea for 15 minutes, mixing or swirling occasionally
  2. add remaining Smoothie Ingredients
  3. Blend (either in a blender or in a 1 litre Mason Jar with an immersion blender)
  4. Pour in a bowl or other suitable vessel
  5. Decorate with toppings

What’s your favourite smoothie bowl topping? I always add Bee Pollen for the floral flavour AND B Vitamins!

Gorgeous Gluten Free Gingerbread Granola

Posted on

I love ginger. Fresh, pickled, crystallized, preserved and every way in between. But I love it best in gingerbread form: cookies, houses, lattes and now granola!

IMG_0175

Gingerbread Granola

I have been playing around with making granola in my slow cooker, rather than in the oven, and it makes it so much easier and gives a more consistently crunchy and evenly toasted cereal.

The best part about making your own granola is that you know exactly what is in it. The other bonus is that you can get all creative and come up with customized flavours. Inspired by my Epicure Gingerbread Spices, and the recent dessert for breakfast trend, I decided to make a healthy and delectable granola.

Gingerbread Granola Detail

Gingerbread Granola Detail

Granola is pretty easy to make and the measurements don’t need to be precise and by using a slow cooker, you don’t have to watch it to make sure it doesn’t burn. The pain of dumping most or all of a burnt batch of granola in the garbage is not something I wish on anyone.

Gingerbread Granola Overhead

Gingerbread Granola Overhead

Recipe for Gingerbread Granola

Makes approximately 6 cups of granola

Ingredients

One of the joys of granola is that is ridiculously adaptable, feel free to increase, reduce or switch up anything!

1 Tablespoon Coconut Oil

1 Tablespoon Molasses

1 Tablespoon Maple Syrup

1 Tablespoon Epicure Gingerbread Spices (or a teaspoon each of cinnamon, cloves and ginger)

1 teaspoon of Kosher Salt

1 cup Buckwheat

2 cups Quick Cook Steel Cut Oats (or Rolled Oats)

1/4 cup Flax Seeds

1/4 cup Sesame Seeds

1 cup Pecans, roughly chopped

1 cup Crystallized Ginger, roughly chopped

Method

1. Turn slow cooker on to Low setting and melt coconut oil with molasses, maple syrup, spices and salt

2. Add remaining ingredients, except Crystallized Ginger

3. Stir until thoroughly mixed

4. Cover with lid, but leave a slight gap for moisture to escape

5. Stir every 30 minutes until crunchy (about 2 hours)

6. Turn off slow cooker. Add in Crystallized Ginger and spread on baking sheet to cool

7. Once cool, store in a mason jar in the fridge for up to 2 weeks

Try it on cottage cheese, Greek yogurt or fruit salad!

I’ve also made Aloha Granola (pineapple, papaya & coconut) and Maple Walnut Granola in my slow cooker. What’s your favourite Granola flavour?

See my list of available samples of Epicure product by clicking here.

Ravishing Roasted Carrot Soup

Posted on
Roasted Carrot Soup

Roasted Carrot Soup

I buy big bags of carrots. Many of these carrots get juiced, grated, peeled, baked, salad-ed and snacked upon, but sometimes we don’t quite make it through the bag before they start to get bendy. I had just such a dwindling bag of carrots taking up valuable real estate in my fridge the day before New Year’s Eve, and so my brain began to whir…

Knowing that I was having family over for a simple dinner to ring in the New Year, I started thinking of what else I had and what I could do with these extra carrots. I knew I had lots of onions and lemons, a bit of feta cheese and some Kalamata olives, this had me thinking Greek. Recalling that I had Epicure’s Souvlaki seasoning and El Greco Secret Sauce, a plan came together.

While this was a simple dish to throw together, I actually prepped it the night before so I could have more time to relax and reminisce about the year that was ending, the soup was greeted with rave reviews and encores of second and third helpings!

Ravishing Roasted Carrot Soup Ingredients

Ravishing Roasted Carrot Soup Ingredients

I knew I had to share this recipe when my Instagram post was shared by Epicure on their Facebook page as part of their weekly round-up of images shared on Social Networks featuring their products.

Recipe for Roasted Carrot Soup

makes 8 servings

Soup Ingredients:

8 medium carrots, peeled and cut into finger size pieces

2 medium purple onions, sliced in finger width sections

1 head garlic, peeled and hard bottom bits cut off

2 TBS Epicure Souvlaki Seasoning

2 TBS Extra Virgin Olive Oil

2 cups dried red lentils

6 cups water

juice of 1 lemon

Salt and Pepper to taste

Garnish Ingredients:

1 TBS Epicure El Greco Secret Sauce

2 TBS water

1 TBS Extra Virgin Olive Oil

Feta Cheese

Kalamata Olives

Method:

1. Pre-Heat oven to 400

2. Spread carrots, onions and garlic on baking sheet, sprinkle Souvlaki seasoning and Olive Oil and toss to coat

3. Roast vegetables in oven until golden brown on the edges (approximately 30 minutes)

4. For garnish: Mix El Greco Secret Sauce and water, let stand for 5 minutes and then add Olive Oil, cube feta and slice olives

5. Remove vegetables from oven and allow to cool while placing a soup pot with the red lentils and 6 cups of water on high

6. Once water is boiling, add vegetables turn heat down to medium and cook until lentils are soft (approximately 10 minutes)

7. Add the lemon juice and puree with an immersion blender

8. Add water, salt and pepper to achieve desired consistency and flavour

9. Serve soup in bowls and garnish with tiny cubes of feta, sliced Kalamata Olives and a smattering of prepared El Greco Secret Sauce from Epicure

I also served a simple salad of thinly sliced bell peppers and cucumber (using my Epicure Ceramic Slicer) dressed with Epicure’s Greek Dressing seasoning mixed with red wine vinegar and Extra Virgin Olive Oil.

If you would like to purchase Epicure seasonings or cookware, please visit my online store: www.juliaustine.myepicure.com or contact me for samples.

What is your favourite way to use up a carrot surplus?

Jewel Tonic: Glowing Garnet

Posted on
Jewel Tonic: Glowing Garnet

Jewel Tonic: Glowing Garnet

I love making smoothies and experimenting with different fruit and vegetable combinations and adding things like chia and oatmeal. I even like to combine kale, mint and chocolate in my Shamrock Smoothie (see blog post and recipe here), so it shouldn’t be much of a surprise how much I’d enjoy playing around with a juicer. But after my lovely mother lent (and then gave) me her Omega Juicer, at the insistence of my son who had liked helping his Nana juice things up, we’ve been going through bags and bags of carrots and whatever produce we can get our hands on! We started cataloguing our juices on Instagram (Check out @juliaaustine on Instagram here), but then I began blending more veggie filled concoctions on my own and thought I should share some on Kitchenette Finds.

Jewel Tonic: Glowing Garnet ingredients

Jewel Tonic: Glowing Garnet ingredients

I love the colours that come out of the juicer and watching them change as you add different items. It’s a fascinating process where you truly get to enjoy the fruits of your labours! Freshly made juice give you all the vitamins and nutrients of these luscious plants in a super-dose, by taking out all the fibre that fills you up and breaking down the cells of the produce so that your body can better absorb their phytonutrients. If you are new to juicing or looking for a new mix to try, I’d like to share one of my first attempts which was pretty tasty and such a gorgeous colour!


Jewel Tonic: Glowing Garnet

Jewel Tonic: Glowing Garnet


Recipe for Glowing Garnet Jewel Tonic

makes 1 serving

Ingredients:

1 beet

1/4 small purple cabbage

2 red pears

2 medium parsnips

1 small red bell pepper

1 pink grapefruit

Method:

1. Juice all ingredients

2. Enjoy!

Now, I just need to figure out what to do with all the pulp… If you have any suggestions, please share them in the comments below.

%d bloggers like this: